Every instance of a JAMS client must connect to at least one server. If the JAMS Server Service is installed on the same machine as the client, a server definition is automatically added that points to the local server.
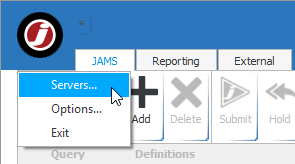
Adding, removing, and editing JAMS Servers can be controlled from the JAMS icon in the top left corner of the JAMS Client interface.
Adding a Server
- Click the JAMS icon in the top left corner and select the Servers command.
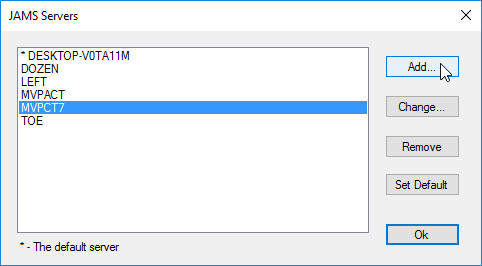
- Click the Add button to open the JAMS Server window.
- In the Server Name property, located on the Server tab, enter the name of the Windows server where the JAMS Server is installed.

- Complete the User name and Password boxes on the Authentication tab.
- If required by your JAMS administrator, modify the Port property on the Server tab.
- Click the OK button.
Modifying the Server Properties
- On the JAMS icon, click the Servers command.
- Select the specific server from the list and click the Change button.
- Modify the properties as shown in the screenshot above.
- Click the OK button.
Removing a Server
- From the JAMS icon, click the Servers command.
- Select the server from the list and click the Remove button
- Confirm the settings and click OK.